While it’s not quite World Backup Day yet, I figured it was time for a bit of long-overdue spring cleaning and organization of my computer.
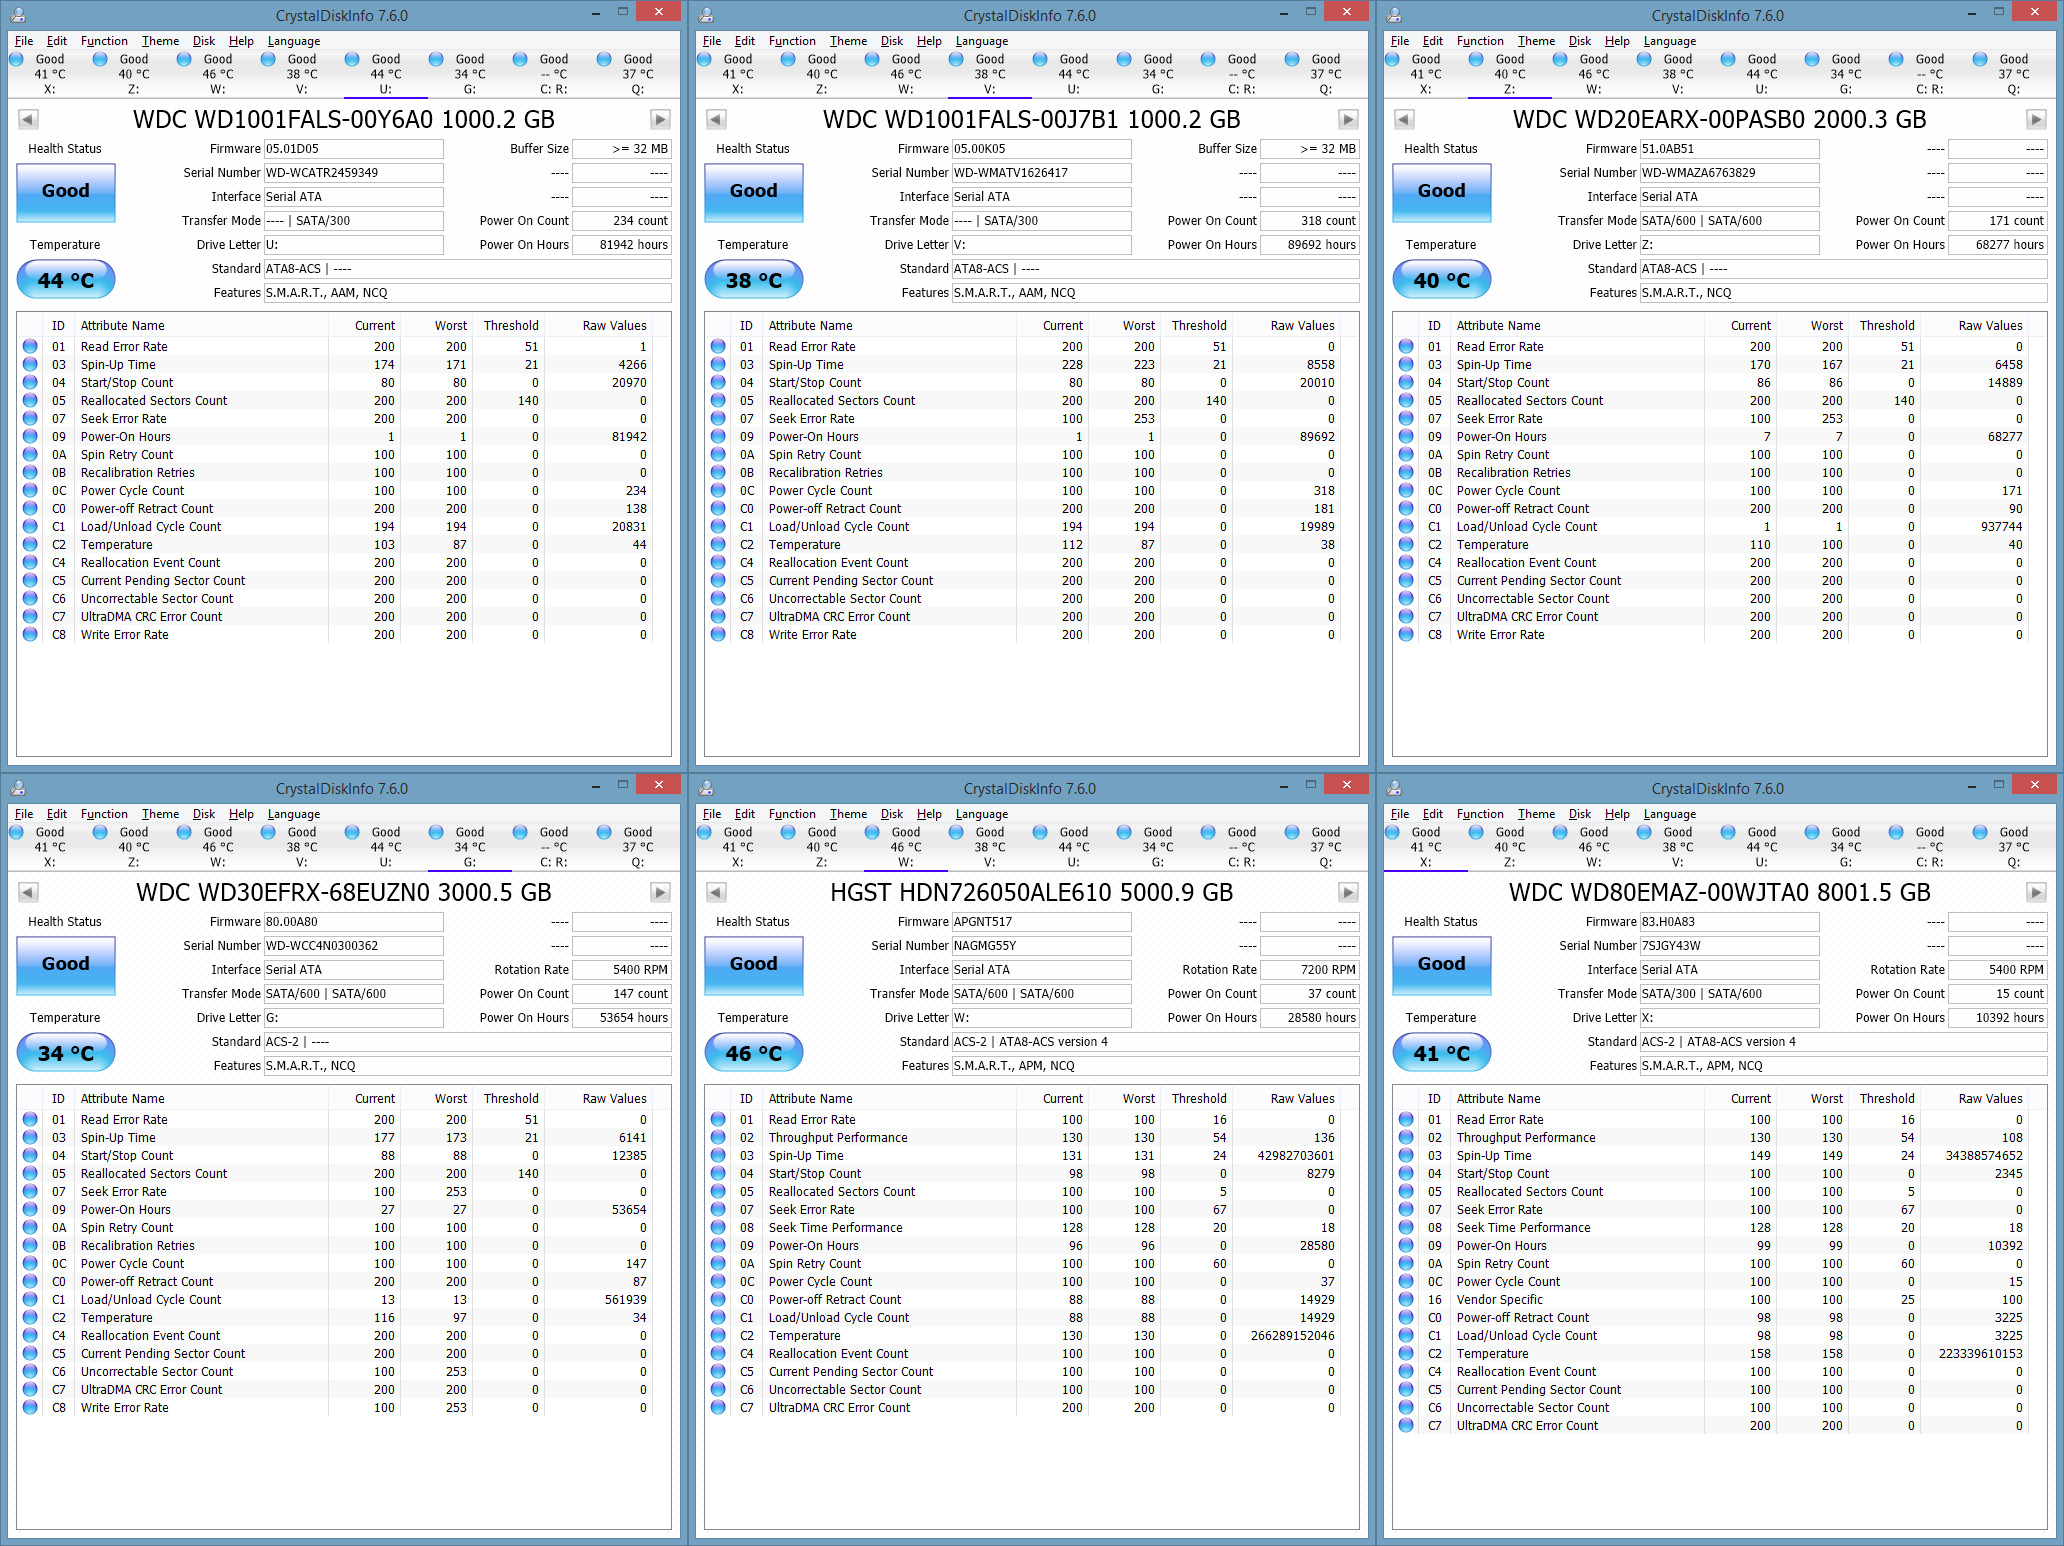
I built my current desktop back in 2012 with a 240GB SSD and maybe ~3TB of storage I was carrying forward from an earlier PC. In fact, I still run on that same 240GB SSD in 2020 though I have since expanded to around ~20TB of storage spread over 8 drives. For the curious, see my hard drive stats and solid state drive stats generated using CrystalDiskInfo.
I knew I had to get smart about my own desktop’s organization. To make sure I knew what I had, what I needed to keep, what I needed to back up, what I needed to encrypt, and to do it all for the lowest cost possible.
In general preparation for this endeavour I picked up a new 750GB SSD, and a few months later snagged an 8TB HDD on special. This would help me alleviate pressure on the 240GB OS install also being a game drive (games are big these days), and the 8TB HDD would allow me to consolidate and retire a few of the longer running drives in my tower, some going on 10+ years. I won’t stop using them until they die, but at least important things can be elsewhere, and backed up.
We’ll cover my solution in three steps:
The software we will be using and talking about in this post are:
1. Clean
I tend to dump a lot of files in either my Downloads or Documents folder as a catch-all. Bank documents, concert tickets, receipts, taxes, private keys, PDFs, app installers, drivers… I’ve been data hoarding since before we called it that.
For this, there’s no substitute for scrolling through the list and deleting anything you no longer need or want to have. Be generous here, anything you might still want can always be retrieved in the Recycle Bin – up until we empty it to reclaim our space!
You can also use WinDirStat to visualize your drive’s largest files and folders. I find the inability to multi-select folders in WinDirStat for deletion makes it useful mostly for seeing where it was I had a lot of data I needed to sort through and deleting any huge outliers to get started.

Once I had reorganized my digital life, it was easier to see where my largest data growth was coming from: media files, games, and software. WinDirStat made it easy to identify which games/programs I no longer cared for and which were taking up the most space. Easy wins!
2. Backup
Now that everything is clean and organized, we can quickly decide what to backup. For me, surprisingly, that works out to only about 500GB of truly need to have, cannot replace, and cannot lose data.
My first step is using SyncToy to grab the folders from various drives, and send them to my external 2TB USB backup. It may be a software last released in 2009 but it does one thing and does it well.

Now we have a local backup we could throw in a safe somewhere. I don’t do that, I leave it plugged in and sync to it every night.
You can backup automatically easily with Windows Task Scheduler (tasksched.msc) by adding an action to run C:\Program Files\SyncToy 2.1\SyncToyCmd.exe -R on whatever schedule you prefer. For me it’s every night at 4AM.

With all our files in a single place, we can take the whole drive and pop it in the cloud. My provider of choice being AWS, I configured the AWS CLI and created a simple batch script to call from Task Scheduler once a week.
backup.bat:
S:\awscli\bin\aws.exe s3 sync I:\ s3://my-backup-bucket --exclude="*RECYCLE.BIN" --sse --storage-class DEEP_ARCHIVE --delete
I use DEEP_ARCHIVE as these files are only meant for accessing in the case of an emergency. Deep Archive provides ‘long-term data archiving that is accessed once or twice in a year and can be restored within 12 hours’ for only ‘$0.00099 per GB’ per month. Note, however, any file you upload must remain there for at least 180 days or you will be charged for 180 days worth of storage anyway.
Therefore, if you plan to delete a lot of files, or want instant access to your files, then a storage class like STANDARD could be a better option for you. Feel free to compare storage classes and pricing for something that suits your use case.
The --sse switch uses an AES-256 encryption key when storing your data on Amazon S3. You can provide your own keys should you wish, but for me this was good enough without adding undue complexity.
3. Encrypt
Now that we have a safe backup of all of our files we can move on to securing our drives, so the data on them remains private in the event of seizure or theft.
You can absolutely use Windows’ built-in BitLocker to secure your drives, and if you do be sure to save your recovery key in your backup and in the cloud! In fact, this is all I use for my laptop’s encryption and I’ve never been disappointed, it is seamless and forgettable!
For my desktop however, since I have so many drives, and have been going through this process over the course of literal years, I have been using the free, open-source VeraCrypt instead, the successor to TrueCrypt.
VeraCrypt can be a bit daunting, and is extremely powerful, especially the section where it discusses plausible deniability.
For my use case, I wanted to encrypt the entire partition. The two new drives I had bought would be easy and relatively fast as I could wipe the drive and encrypt everything from the get-go.
The other seven drives in my system would need to be encrypted with their data in-place, i.e., without formatting them, and that would take between hours and days depending on the drive.
Thankfully, we started by cleaning and separating our data. This will allow the encrypt job to not waste time encrypting things we were planning to delete anyway.
Here’s some anecdotal evidence for drive encryption time with VeraCrypt 1.21 on my i5-4670k/16GB RAM:
| Drive | Encryption Time |
|---|---|
| 150GB SSD | 40 minutes |
| 750GB SSD | 66 minutes |
| 1TB HDD | 12 hours |
| 4TB HDD | 30 hours |
Start VeraCrypt, select Create New Volume then Encrypt a non-system partition/drive, select Standard VeraCrypt Volume, choose your device, then click Encrypt partition in place.
TIP: You may want to change the drive letter of the drive you’re encrypting, say
D:, from Disk Management (diskmgmt.msc) to, say,X:. This way, the encrypted volume is mounted atX:and when you decrypt it, it gets mounted asD:. Any programs that relied on the old drive letter will be better off with this approach.
Now we’ll select our encryption and hashing algorithm, I stuck with the default AES / SHA-512. Next we need to choose a really good password to protect all our data. Click ‘Next’ and we’ll generate random data (a salt) for VeraCrypt to add to our password.

Then it’ll take all that together and iterate through the hashing algorithm 500000 times to create the Header Key. This is all done to make it much more time consuming for attackers to try and brute force your password.
Finally select None for wipe mode unless you have a reason not to, and we’re ready to encrypt!
Find a time when you won’t need that drive: maybe you’re going on vacation, or going away for the weekend, and come back however many minutes, hours, or days later.
Congratulations! This is a huge step toward protecting your data privacy! Now even if someone were to break in and steal your computer, you wouldn’t need to worry about them accessing your things! You’ll also have access to them from anywhere in the world.